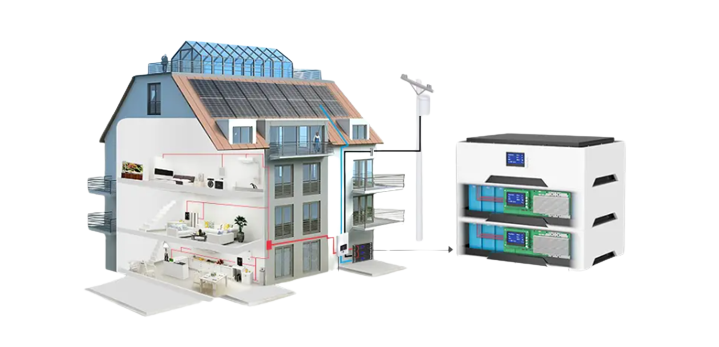
The possibility of using almost all of the energy produced by photovoltaics, with practically no financial losses caused by resale and repurchase, and independence from temporary interruptions in supply, are arguments in favor of having your own energy storage. Unfortunately, buying an energy storage sufficient to power your home is an expense of several to several dozen thousand, which, even spread over years of use, often eliminates the benefits associated with having it. In such a situation, a sensible solution for people with basic electrical knowledge (or who can use the help of such people) is to build your own energy storage, based on cells such as LiFePO4 or Li-Ion. Contrary to popular opinion, with today’s availability of components, this is not a complicated task. Below we describe what to look for when designing a storage and present several sample configurations that allow you to build a full-fledged storage for a fraction of the value of the finished device. Of course, these are just examples. There are many more possibilities. Please contact us if you would like to plan a different layout.
Content
Battery voltage selection
The smallest energy losses will be obtained with the highest possible battery voltage. On the other hand, the use of high-voltage systems requires the purchase of very expensive and poorly available components. It is also associated with a real risk of electric shock. Therefore, the optimal voltage for self-built installations seems to be around 48V. This corresponds to a system of around 14S for Li-Ion or 16S for LiFePO4. Of course, you can use a different number of cells depending on the batteries you have, e.g. 12S Li-Ion or 15S LiFePO4. However, it is important to make sure that the inverter you have or are planning provides support for the voltage range resulting from this. For example, for LiFePO4 cells, the operating voltage range is 2.8V -3.6V per cell, i.e. for 16S: 44.8V-57.6V, and for Li-Ion 3.0-4.2V per cell, i.e. for 14S: 42.0V-58.8V. If the inverter does not support the entire range of these voltages, it will not be possible to use the full capacity of the batteries. Currently, over 80% of banks made are based on the 16S LiFePO4 system. However, if we already have a 24V inverter, we can consider the 8S2P system. We will obtain the same capacity, although with slightly higher losses. However, if we use a BMS that supports the 8-16 cell range, we can always quickly convert the system to 16S, replacing only the inverter in the future.
Battery type selection: Li-Ion or LiFePO4
Both types of batteries are perfect for building storage facilities, but they have their advantages and disadvantages. Of course, the ability to buy cells at an attractive price is crucial.
LiFePO4 cells
Advantages: higher durability, higher capacity of a single cell, lower tendency to ignition, simple assembly, lower failure rate.
Disadvantages: greater weight, higher price, especially compared to Li-Ion packs recovered from electric cars.
When deciding to buy LiFePO4 cells, remember to buy them only from trusted suppliers. Most of the cells currently available on the market are cells that have not passed factory verification. After repeated verification by an intermediary, they are unauthorizedly offered as the highest quality cells. A company offering the actual A+ standard should provide us with test protocols for each batch and even individual cells. Buying cells of unknown origin can be very risky. Even if one of the cells has different parameters from the others, the warehouse will not achieve the assumed parameters. Replacing such a cell will not solve the problem, because it will probably come from a different series and will not be identical to the others.
Check out in our store:
Li-Ion cells
Advantages: Lower weight, lower price, especially for packs recovered from electric cars.
Disadvantages: Small capacity of a single cell, which requires parallel connections of cells or batteries. This involves additional costs for additional BMS, and the potential for failure due to damage to even one of several hundred cells. More complicated assembly. Greater tendency to ignite, especially for cells with unknown history.
Selecting the method of communication with the inverter
Manual
The simplest system. It consists of setting the inverter parameters (maximum charging voltage, battery disconnection voltage during discharge and maximum charging current) so that they are “narrower” than those set on the BMS. Then the inverter controls the battery operating cycle based on its voltage, and the BMS monitors each cell separately (after all, it may happen that the sum of the voltages is correct, and one cell will have a voltage significantly exceeded, while the others are undercharged). The BMS also creates a “second line of defense” if, as a result of a failure, the inverter does not stop charging or does not disconnect the battery after reaching the minimum voltage. This system is especially recommended for simple installations with one battery and cheaper inverters, whose operation in the automatic data exchange system is not always satisfactory. It only requires making sure that the inverter has a manual setting mode and the desired voltage range. It can also be used in more complex systems with several batteries connected in parallel, but this requires more attention from the user.
Automatic
The BMS-inverter information exchange takes place via the CAN/RS485 connection. This system allows you to automate the process of matching the battery to the inverter, and also provides better supervision over the battery parameters. However, it is much more difficult to make and calibrate. You must purchase additional elements and calibrate them (the system is based on the SOC battery charge state, not voltage). It is also necessary to check whether the BMS supports the protocol of your inverter. The system is recommended for complex systems in which, for example, you can use information about the failure of one battery to turn off the entire system. It only makes sense with advanced inverters, the software of which will allow you to use its advantages. If we use a simple inverter, using this system may not bring any benefits, because the inverter will not be able to use the data better than what results from the settings in the simpler and cheaper manual system.
Selecting a location for an energy storage unit
Lithium batteries should be operated in a dry place, at temperatures that do not drop below zero (discharging is possible at lower temperatures, but attempts to charge without additional heating will damage the battery). In the SMART BMS, there is the possibility of programmatically blocking the charging process at negative temperatures. Considering the naturally decreasing capacity of the battery at low temperatures, it is better to find a heated room for it than to use heating mats. The room should be made of non-flammable materials, and the battery cannot be located near anything that could catch fire. It is worth considering enclosing the battery in a non-flammable (metal or ceramic) housing. A very good solution is to use housings specially designed for this purpose. A well-designed housing ensures not only quick, trouble-free assembly, but also initial compression of the batteries. This is an important aspect that should be considered when buying a housing. In order to save costs, many companies do not use cell compression. Although it is not necessary, it is recommended by cell manufacturers. Using compression from the beginning of the cells’ use will allow to maintain smaller differences between them after a longer period of use. It should also be ensured that the battery is not exposed to direct sunlight and that the electrical cables to the inverter are as short as possible and have a well-selected cross-section.


Battery capacity selection
First of all, you need to estimate your daily electricity demand. The easiest way to read it is from your home energy meter by calculating the average consumption, e.g. for a week. Assuming that the battery can be fully charged during a sunny day (it is worth checking here whether your photovoltaic installation is sufficient), the storage capacity should exceed the daily consumption. It is not a mistake to use a larger battery, although it will take a few days to fully charge it, but you will have an additional reserve, e.g. for a network failure. Of course, you should also consider the availability and price of cells. Currently, the most popular cells on the market have a capacity of 280 to 314Ah. They allow you to easily construct a storage of approx. 16kWh, which is an appropriate capacity for installation in a single-family home. Due to the attractive price of the cells, such a storage allows you to obtain the lowest price per 1kWh. With smaller capacities, you should expect that the storage will only serve an auxiliary and emergency function. For large houses with extensive electrical installations, you can consider using several 16kWh storages connected in parallel.
BMS selection
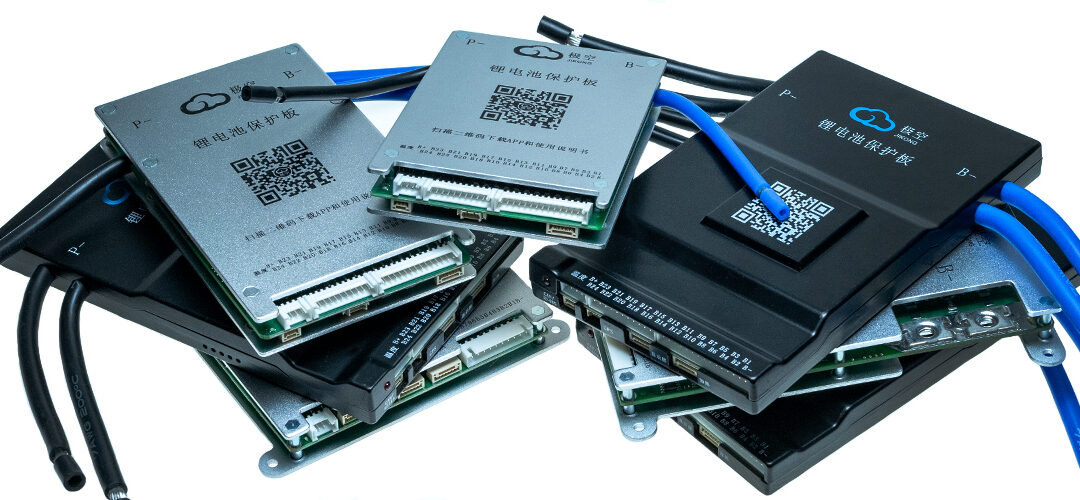
We discuss this topic in detail in the article dedicated to BMS selection, here we will only focus on aspects specific to energy banks working with inverters. If we have decided on manual mode, the matter is simple. We can use any SMART type BMS (this will be useful for precise parameter setting and device monitoring). Of course, we must select the type and operating current of the BMS for the planned installation.
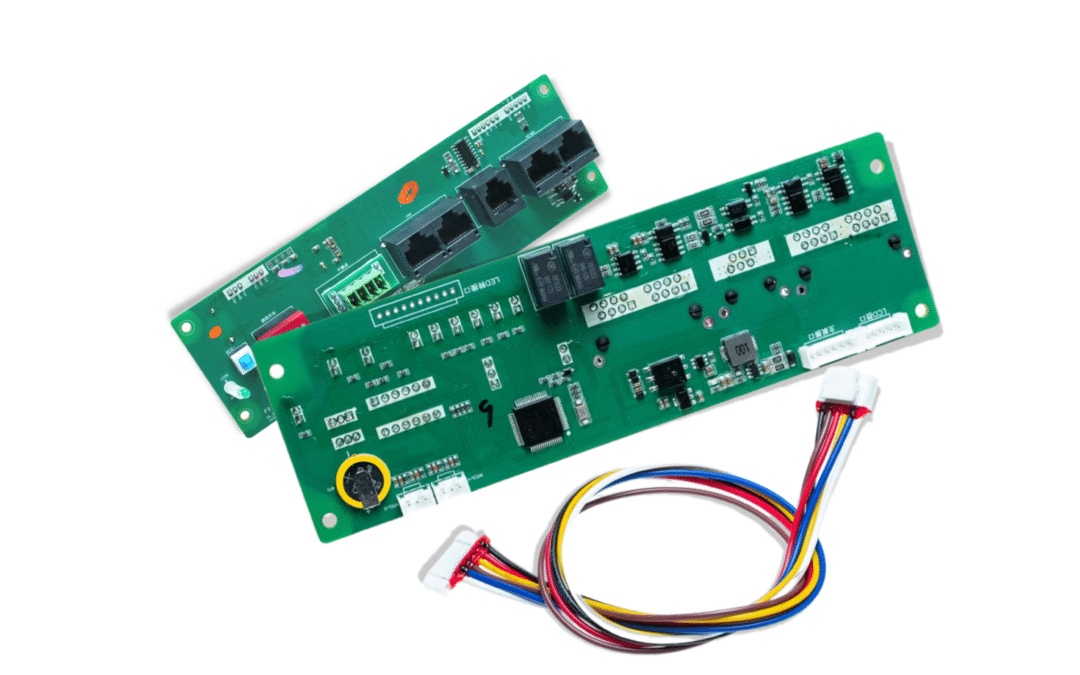
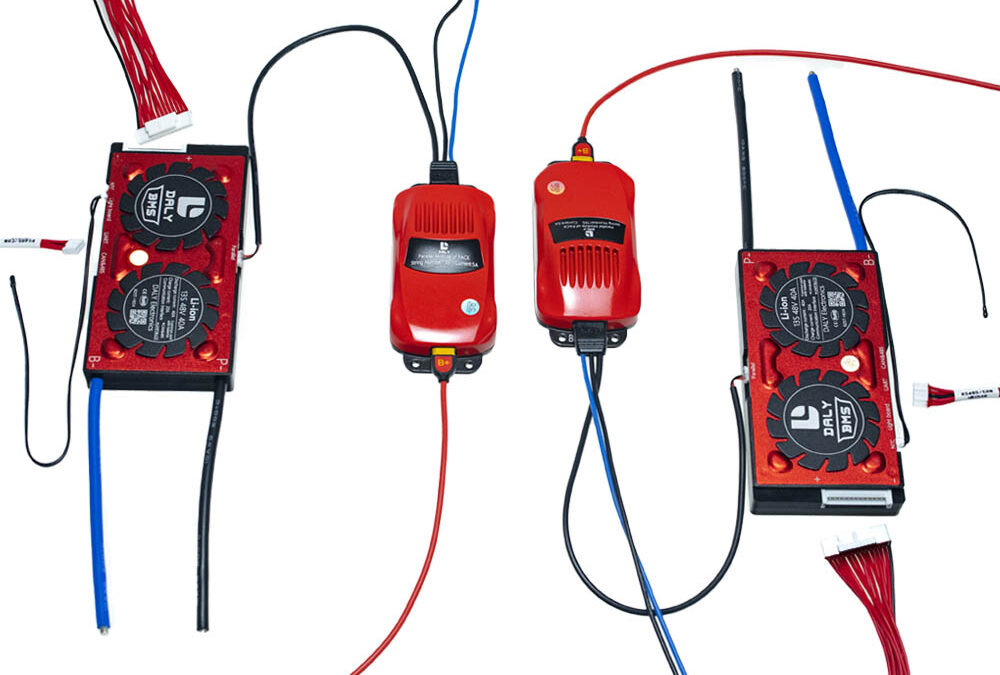
If we plan to establish BMS-Inverter communication, the best solution will be to use the specially designed BMS HES (Home Energy Storage) series by Daly or the BMS Inverter series by JK. They have pre-installed communication protocols of most inverters available on the market and are equipped with a communication board with RJ45 sockets. Establishing communication usually comes down to connecting the cable from the inverter (make sure that the pin layout in the inverter socket matches the BMS system – if necessary, make the right cable) and selecting the right protocol from the BMS application.
An additional advantage of this type of BMS is the built-in parallel module that allows you to connect additional storage units to increase capacity. It is also worth knowing that the HES and Inverter BMSs can work as standard BMSs without communication. This may prove useful when using inverters from lesser-known brands, for which we do not have the possibility of checking the supported protocols in advance.
An alternative way to work with BMS with data exchange with the inverter is to use BMS Smart from Daly (series: CAN/RS485, K, M, S and 100Balance Active). Some of them also have pre-installed communication protocols and can be used both with and without communication boards. Before buying BMS for such a solution, please contact us. Not all devices, even those that look the same, offer the possibility of supporting inverter protocols.
JK BMS (except for the Inverter series, of course), even equipped with an RS485 socket, do not offer a simple option of connecting to the inverter. This requires writing a communication protocol on your own.
Check out in our store:
Selection of other elements
LCD Display
LCD screen – this is not a necessary element (all information is available in the mobile application), but it is often more convenient to read the required data directly, without having to launch the application. Screens with a diagonal of approx. 4″ are most often used for energy storage. They allow you to display data on the entire storage (voltage, charge level, current drawn, possible error messages), as well as data on each cell. In the case of Daly 4.3″ screens, it is also possible to change the BMS settings. In the case of purchasing the BMS HES Daly, a dedicated screen is part of the set.
Fuses
To ensure safe operation, each energy storage should be equipped with at least one fuse with a current equal to or slightly higher than the BMS operating current. The basic solution is a fuse in a dedicated housing. It should be placed on the positive wire. When using this type of fuse, you must be aware that it is a fuse with a significant delay in operation. In the event of a short circuit, it will protect the storage against fire, but it may not operate quickly enough to protect the BMS electronics. Therefore, the best practice is to use a fast MCCB fuse (preferably with a circuit breaker) in addition to the fuse. Such a fuse is a separate device installed between the storage and the inverter.
Busbars and cables
This is a critical element for the safety and efficiency of the warehouse. It is very important to match them in terms of cross-section and material, as well as precise assembly.
Busbars are manufactured in copper and aluminum versions. In our opinion, aluminum busbars are better for LiFePO4 cells. They are made of the same material as the cell terminals, so we eliminate the possibility of electrochemical corrosion. Of course, aluminum busbars must have a larger cross-section than copper ones, but this is usually not a problem with the current dimensions of the cells. The busbars we offer for 280-314Ah cells can easily carry a current of around 200A.
We often come across questions about flexible, braided busbars that are supposed to compensate for stresses that occur during cell operation. We do not recommend this solution, because it is impossible to avoid changing the aluminum-copper material. A much more effective solution is to use, in addition to standard insulators, an additional layer of soft 1 mm microrubber. This will leave room for the “cells to work” without stressing the busbars.
A very important factor is the correct assembly of the busbars. Both the terminal surface and the busbar must be clean (but the terminal surface should never be sanded before assembly), and the nuts or bolts must be tightened to the correct torque (usually 6Nm). Too weak a tightening can lead to overheating of the connection, and too strong a tightening can damage it.
Other connections inside the warehouse can be made of aluminum profiles or wires, depending on its construction. It is important to remember the problems described above with selecting the cross-section and possible changes in the material at the connection.
As a standard, for the most commonly made warehouses with currents of 150-200A, the connecting cables should have a cross-section of approx. 50mm². The detailed selection of cables should be carried out in accordance with the applicable standards.
Check out in our store:
Current terminals (connectors)
The simplest way to connect the storage to the cables connecting the inverter is to use dedicated terminals. Of course, they must be adapted to carry the storage’s operating current. The detailed selection is made depending on the method of assembly of the storage being built. Below are some examples: